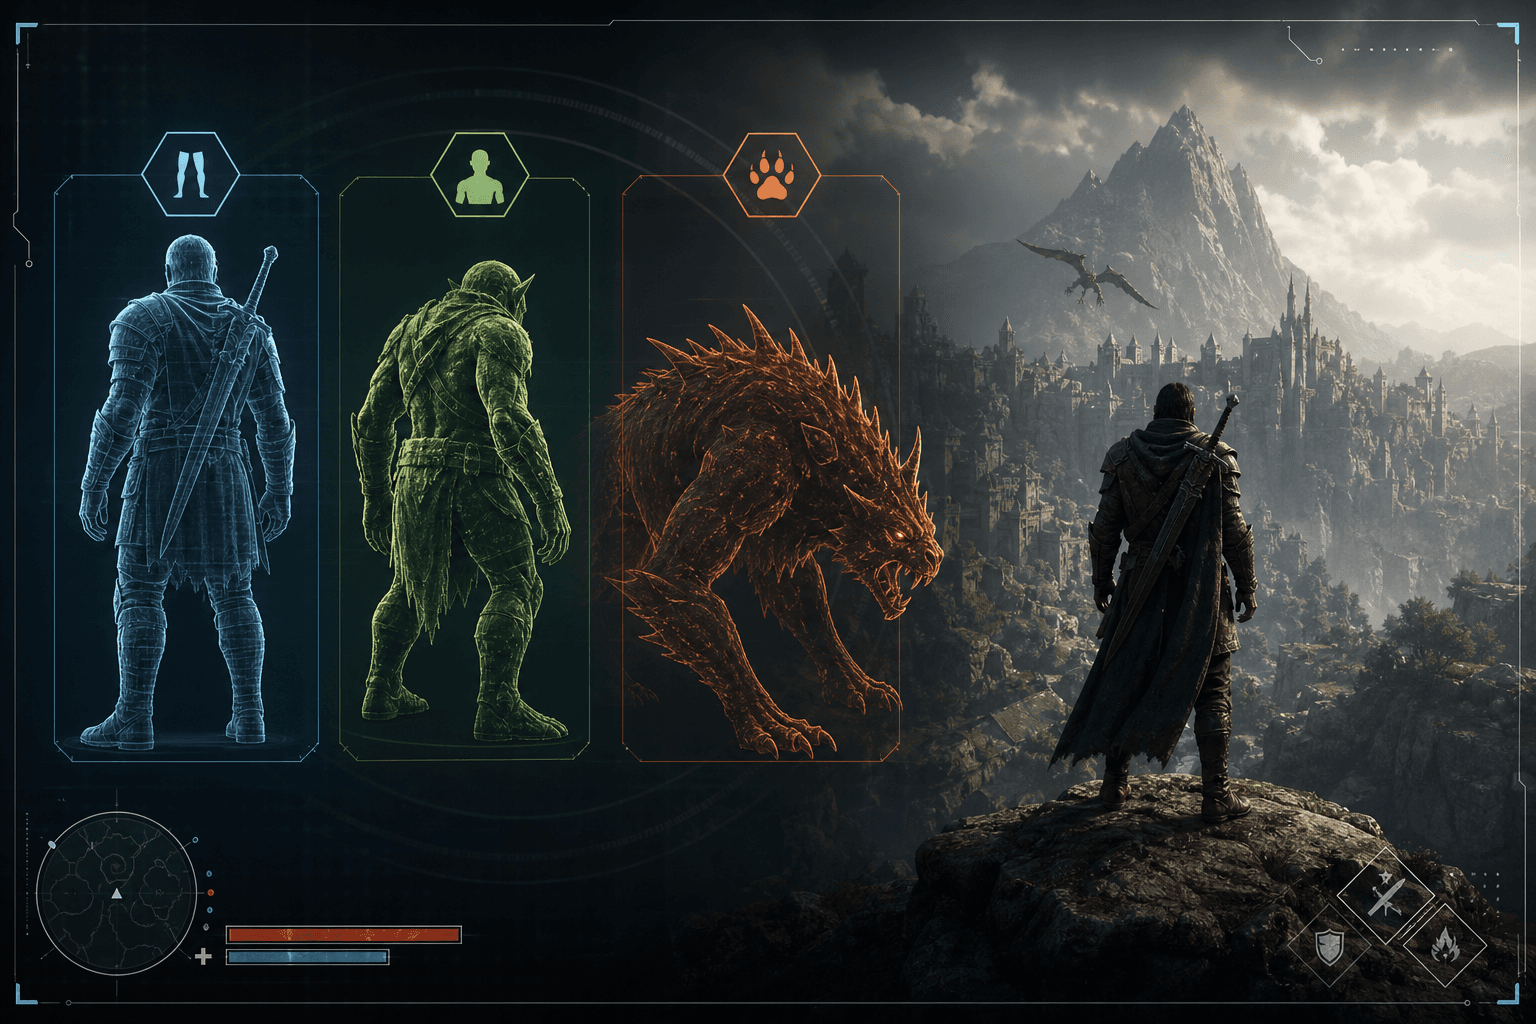
PBR: What It Actually Is and How Each Map Works
Just a guy who loves to write code and watch anime.
Introduction
PBR stands for physically based rendering. It is a lighting model that simulates how light actually behaves in the real world.
All examples are from Patina. A moss
How light works in reality
Light hits a surface. Two things happen. Some light bounces off the surface immediately. That is reflection. Some light penetrates the surface, bounces around inside the material, and comes back out. That is diffuse color.
The ratio between these two depends on what the material is made of. That is the entire foundation of PBR.
PBR describes materials using a set of texture maps. Each map controls exactly one physical property. The shader combines them all into realistic lighting.
Basecolor (albedo)
The color of the material itself. Nothing else. No shadows, no highlights, no reflections. Just: what color are the molecules of this thing.
Dirt is brown. Concrete is grey. Rust is orange-brown.
If you took a material into a perfectly evenly lit white room with zero shadows and zero reflections, what you see is the basecolor.
Under the hood: the shader multiplies this color by the diffuse lighting contribution. Light hits the surface, some penetrates, bounces around inside, comes out tinted by this color.

Normal map
A texture where each pixel stores a direction instead of a color. The RGB values encode an XYZ vector. This vector tells the shader "pretend the surface is pointing this direction" even though the actual geometry is flat.
Why it matters: a flat wall with a normal map of bricks will catch light as if every brick edge and groove were actual geometry. Light hits the "grooves" at a different angle than the "faces" so you see shadows and highlights that look 3D. But the mesh is still a flat quad. Zero extra triangles.
Under the hood: the shader reads the normal map and replaces the geometric normal with the one from the texture. All lighting calculations use this new normal. The dot product between the light direction and the normal gives different values per pixel. The surface looks bumpy even though it is flat.

Roughness
Think about two surfaces. A mirror and a chalkboard. Throw a laser beam at a mirror. It bounces in one tight direction. Sharp, focused reflection. Now throw that same laser at a chalkboard. The light scatters everywhere. No clear reflection. Just a soft bright spot.
That is roughness. It controls how scattered or focused the reflected light is.
Roughness = 0: mirror. Light bounces in one direction. Sharp reflections. Wet surfaces, polished metal, glass.
Roughness = 0.5: somewhere in between. A soft, blurry highlight. Like plastic or worn leather.
Roughness = 1: chalk. Light scatters in all directions. No visible reflection. Dry concrete, cloth, raw wood.
Under the hood: the shader uses roughness to control the width of the specular highlight. The way to think about it is: imagine the surface at a microscopic level as millions of tiny mirrors angled randomly. Low roughness means all the tiny mirrors face the same direction (smooth surface). High roughness means the mirrors face random directions (rough surface).
The math (usually GGX distribution) computes how many of those microfacets happen to reflect light toward the camera. More aligned = tight bright highlight. More scattered = wide dim highlight.
// Simplified concept:
float highlight = pow(dot(normal, halfVector), sharpness);
// sharpness comes from roughness.
// Low roughness = high sharpness = tight highlight.
// High roughness = low sharpness = wide dim highlight.
This is also why wet things look shiny. Water fills the microscopic grooves, making the surface smoother at the micro level. Roughness goes down. Reflections appear. Dry the surface out, the grooves are exposed again, roughness goes back up.

Metalness
This answers one question: does this surface conduct electricity?
Metals (steel, gold, copper, aluminum): yes. Non-metals (wood, dirt, plastic, skin): no.
Why does electrical conductivity matter for rendering? Because metals and non-metals reflect light in fundamentally different ways.
Non-metals reflect a small amount of light (about 4%) as white or grey. The rest penetrates the surface and comes back out tinted by the basecolor. So you see the diffuse color strongly and a subtle white highlight on top.
Metals reflect almost all light (60-90%) and that reflection is tinted by the basecolor. No light penetrates. No diffuse contribution at all. The "color" you see on a gold bar IS its reflection color, not diffuse color. Gold reflects yellow light. Copper reflects orange light.
So metalness switches how the shader interprets the basecolor map:
Metalness = 0: basecolor is used for diffuse. Reflections are white/grey.
Metalness = 1: basecolor is used for reflection tint. No diffuse at all.
Under the hood:
// Simplified:
vec3 diffuseColor = basecolor * (1.0 - metalness);
vec3 reflectionColor = mix(vec3(0.04), basecolor, metalness);

// metalness = 0: diffuse is full basecolor, reflection is 4% white.
// metalness = 1: diffuse is zero, reflection is basecolor.
The 0.04 is not arbitrary. It is the measured reflectance of most non-metal surfaces (glass, plastic, water all hover around 4% reflectance at direct viewing angles). This is called the Fresnel reflectance at normal incidence, or F0.
In practice, most natural materials are metalness 0. Dirt, rock, grass, wood, skin, cloth. The only things with metalness are actual metals. And metalness is almost always 0 or 1, rarely in between. A value of 0.5 does not mean "kinda metal." It usually means there is a transition zone between metal and non-metal at that pixel, like rust on steel.

Height map
Stores how raised or sunken each point on the surface is. White = high. Black = low.
Two uses:
Parallax mapping. The shader offsets texture coordinates based on the view angle and the height value. This fakes depth without moving any geometry. Cracks look like they go into the surface. Bricks look like they stick out. It is an optical illusion computed per pixel.
Displacement mapping. Actually move the vertices based on the height map. This requires enough geometry to displace. More triangles = more detail. This is the real deal but it is expensive.
For terrain: the noise function handles large-scale height (mountains and valleys). A material's height map adds small-scale detail like individual stones sticking up from rocky ground.

How they all combine in the shader
One lighting pass, all maps working together:
1. Read basecolor, normal, roughness, metalness from textures.

2. Compute material properties from metalness:
   diffuseColor  = basecolor * (1.0 - metalness)
   specularColor = mix(0.04, basecolor, metalness)

3. Perturb the surface normal using the normal map.

4. Compute diffuse lighting:
   diffuse = light * diffuseColor * max(dot(N, L), 0.0)

5. Compute specular lighting using GGX:
   specular = light * specularColor * GGX(roughness, N, H, V)
   (N = normal, H = halfway vector, V = view direction)

6. Final color = diffuse + specular
Each map controls exactly one variable in this pipeline. Basecolor provides color. Normal adjusts the surface direction. Roughness shapes the specular highlight. Metalness routes the basecolor to either diffuse or specular. Height adds geometric detail.
That is PBR. Describe the physics, let the math do the rendering.
Quick reference
| Map | What it controls | Black means | White means |
|---|---|---|---|
| Basecolor | Surface color | Dark material | Bright material |
| Normal | Surface direction per pixel | Flat | Bumpy |
| Roughness | Reflection sharpness | Mirror smooth | Completely matte |
| Metalness | Metal or not | Non-metal (dirt, wood) | Metal (steel, gold) |
| Height | Surface displacement | Sunken/low | Raised/high |